How can you edit your videos to ensure YouTube's success Blog

Explore Courses at YouTube
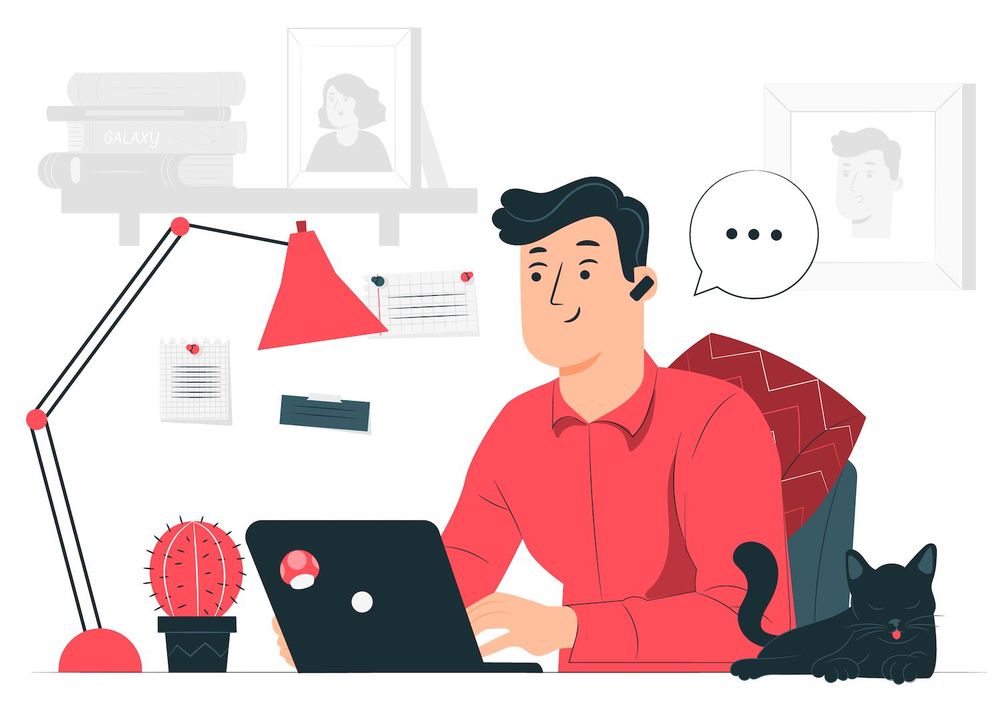
Editing, creating stories, followers, as well as other tasks.
You're ready to launch your own YouTube channel. It's huge! This is the beginning of a thrilling and fun experience. If you've ever seen YouTube channels of others You'll find the importance of editing as an component in how the video can achieve its goals. If you modify your videos to be uploaded on YouTube it gives you the ability to present your tale in a captivating and compelling way to inspire viewers to watch to see more.
We'll now go over the basics. In this article, we'll take a look at some of the most well-known YouTube video editing programs which you can make use of and also a brief discussion of ways you can alter your video from the very first when you upload it.
Let's get started!
Quick Links
Editing Software Options
These are the top five used video editing software and tutorials that will assist you in understanding the ins and outs of these:
A complete video editing software that is equally suited for beginners and professionals; available for both Mac as well as PC users. Adobe Premiere Elements is a smaller version of Premiere Pro, aimed at beginner users.
The complete video editing tool was developed by Apple and is available only on Mac computers.
A cost-effective, powerful tool for video editing aimed toward professional video editors.
A highly effective software for editing videos, especially those who perform much work in color grading. The free version is accessible.
What are the steps to modify videos on YouTube
If not, we'll review what the editing process involves and how you can alter your binge-worthy YouTube videos no matter what program you select.
Step 1. Sort Your Film
2. Put the pieces together and make the rough cut
Put all of the raw video files into the editor. Place them in the correct sequence. Also, this is a great opportunity to make rough cuts for:
- Remove any video you won't use
- The film you wish to keep should be cut, ensuring that only those parts which are crucial remain
- If you commit a mistakes or you feel uncomfortable, avoid pausing
3. Fine Cut
Review the video several times and make small changes. Take note of the pace of the video. Do you find it easy to focus on? Is it difficult to watch or does it slow down in certain areas? Cut clips that appear more than they ought to be and be sure the transitions between clips to the next appear natural and smooth.
Step 4: Include the effects and transitions
Based on the style and theme of your film, and based on the design of your movie, it's possible to incorporate transitions between the videos. One option that is popular and works well to keep the audience engaged is to have the opening clip slide toward one side and the following one slide to the opposite direction.
You can also create intriguing effects. If, for instance, you're trying to make people notice some thing, you could use an effect that slows down zooming for a certain period of time.
Step 5: Color Correct
This could be video which was taken at various times of day, in different lighting conditions, in addition to possibly using various cameras. To ensure that they appear consistent across all of them you must colour correct. Through this method, you'll change the intensity of the video, as well as intensity, temperature and brightness. Color correction is also employed to enhance certain colors, and gives your video a Cinematic appearance and feel.
Step 6 6, Step 6: Add the song
A good soundtrack can help create an atmosphere that is distinctive to the video. It can make a sensation of emotion from viewers, and also make your film more entertaining. If you're making an audio video that features several people discussing the subject, it's possible to include the tunes of several artists into the background.
Step 7: Mix Your Sound
Certain videos could be more louder than others. That means you'll need to modify their volume in order to make sure that the sound is clean and coherent. It is possible that you are also playing b-roll. In this case, you'll need to decrease the volume on the b-roll until it's to a minimum. If you're listening music, and would like to play on its volume to the maximum, crank it up when no one is speaking before reducing it when the person listening needs attention to another thing.
Step 8: Insert the text and titles
To keep viewers interested To keep them interested It is feasible to include a screen with each video clip. If you have crucial details you wish viewers to retain, put it as words that appears on the screen. Beyond the title and texts, you may add animations or other kinds of effects to make your video more engaging.
Step 9 Add an Outro as well as an Intro
You must leave plenty of time and space to make an introduction video. It is also a great opportunity to promote your other content or encourage viewers to share your content by commenting, liking and join your channel.
Step 10: Create an image
If you think your thumbnail will to be inspired by the screenshot from the film, this is the ideal moment to take that photo. It's possible to incorporate other elements of design, including images and text to attract people's attention.
Begin Your Very First Video
After having mastered the basic concepts, when you've grasped the basic concepts then you're now ready to begin your journey of editing videos in order to guarantee YouTube success. Remember that your YouTube videos do not have to be flawless at the time you start editing your YouTube videos, it'll get easier to master this and will create your unique style.
We're eager to see what your ideas will be!

Take part in the action with thousands of users
YouTube's Success Create an authentic YouTube Channel worthy of the attention of the
This article was originally posted here
This post was first seen on here