How To Record Video for An Online Course: Complete Tutorial
This step-by step guide will help you understand the steps involved in creating and recording videos (and by adding bonus content) for an online class in CreativeMindClass, a free tool utilized by some of the most renowned creators.

How do you plan and create video lessons to be used in online courses in 10 simple steps
Create videos, downloadable files, as well as exercises.
Now you'll have a plan of your course. It's now time to think about how to explain each part of your curriculum. Engaging, interactive and enjoyable content provides the perfect learning environment for students online. One of the best ways to provide the learning objectives is to mix different multimedia: videos, screen recordings, presentations as well as audio and handouts and even exercises.
In this article, you'll discover the most effective method of creating and recording videos for your course and preparing additional materials such as downloadable files, as well as engaging students in active learning through exercises. Keep in mind that preparation of content is the heart of your class, therefore it's possible that you'll be doing the work for quite a long time.
The steps in this guide
- Video for each lesson
- Choose the video lesson type
- Record videos for your online course
- Make a fun education experience that concentrates on video
- Create a download file
- Choose the downloadable files for your lessons
- Include an exercise to an existing lesson
- Students are asked to present their work and receive your feedback
- Make an online community around your course
1. Include a video in each lesson
Videos are the most entertaining approach to present your material. An online course that is successful requires up to 25 hours worth of footage. It's hard to film yourself that long.
Be aware that video can take on diverse forms, such as presentations or screen recordings that include audio. This isn't necessary to be on camera all the time. If you're having a tough time deciding on the video type for your course, you can read more about different video types in the following paragraph.
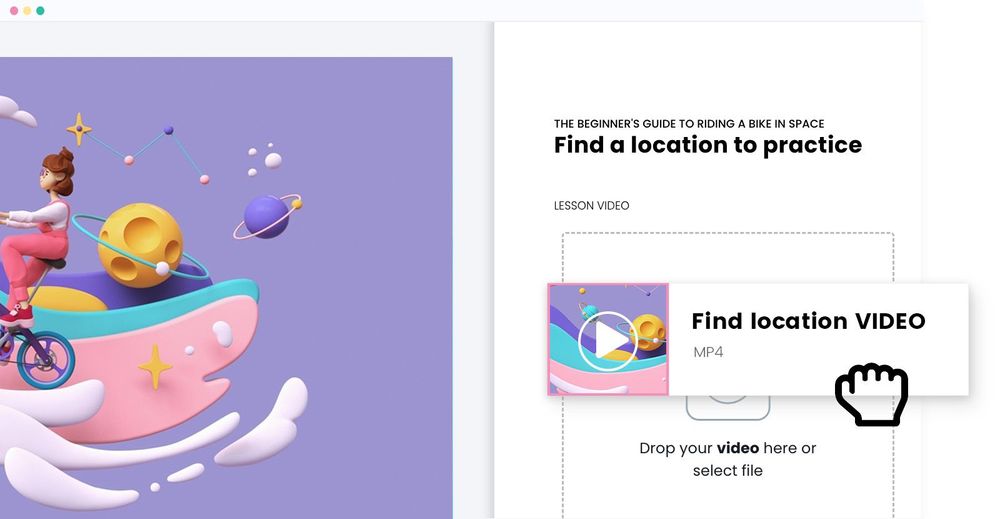
How to do it in CreativeMindClass
- Create a new class for the video lessons you have created.
- Click the on the LESSONS tab to open it.
- Choose VIDEOlesson type.
- Drag a video file from your computer.
- Make sure to include a video with every lesson.
Pro Tip: Depending on the tools you will use for creating your video and the tools you use, you'll get multiple file formats like MP4, MOV, or WMV. Do not fret about it. They will be converted to formats your students can view on their desktops or mobiles.
2. Choose the video lesson type
Look at your course outline. What method fits best to convey the objectives from each class?
The content you include in your classes are the key in creating an interactive online class and provide students with an enjoyable learning experience. They can be produced by using your equipment and the shooting space right at home with the knowledge you have available.
After you've finished making and editing your video there are a variety of low-quality, short 16:9 video files to upload. Remember the superior quality of the video. It must have a resolution of 1080p.
There are many kinds of video you could create to teach your students:
1. Videos showing your face
What is it:Showing your face in videos is an excellent method of presenting yourself as a person who is situated in a physical environment. It allows your students familiar with you, creates trust and establishes a personal connection. They will instantly recognize your face, your smile, and also your style.
How to do it: Record yourself sitting or standing. It is possible to shoot the footage from one or more angles. There's a possibility that you'll need the use of a tripod.
Best for:Try the videos showing your face for instance in the introduction or conclusion.
In which classes would you make use of this type of video? What lesson goals can be achieved best by creating a video showing your own self? Choose the lessons and make notes in the lesson description.
PRO Tip:For better sound quality when you record your videos, make use of external mics. Start with your existing microphone on your headphone.
2. Documentary video
What exactly is it?A documentary video in shows your reality and surroundings. It can also show the workspace. Also, it's a way to showcase the backstage of the work you do. You can use this awesome video footage that you can mix into different classes between lessons. This makes the lessons more enjoyable and gives a your students a short time to relax while learning.
How to do it:The documentary shots are the type of footage you will capture in multiple recording sessions. These can be a lot of fun to record as they offer new possibilities of creativity. You may appear as filmmaker.
Ideal for: It's a nice way to create engaging footage for instance, to talk about your work experience, or show how you are working, or your live workshops.
PRO Tips: The majority of documentary footage that you could take yourself. But for some shots, you might need some help. It is possible to ask a friend to assist you or hire someone so several hours.
3. Talking head videos
What is it:The talking head videos your may have seen on YouTube tutorials as it's commonly used way of presenting. Talking head videos are a close-up image of you explaining something in front of the camera.
How to do it: Combine the talking head video and the visuals that are shown behind, like presentation slides, video, or a still image. Include the images in post-production.
The best choice in:It's great for the purpose of presenting programs. Also, you can show inspirations and make comments on your favorite parts or demonstrate some of the most common errors.
Which lesson objectives could be delivered most effectively when you create a talking head video? Pick the lessons you want to teach and then make notes in the course description.
PRO Tips: Lighting is crucial when making videos with talking heads. Beware of shadows, overexposure as well as bad lighting. Use an LED ring light, or lights on tripods.
4. Videos that don't show your face
If putting your face in front of the camera is uncomfortable or feels like too much exposure, then create videos that do not use it. It is a challenge to make connections with your viewers without using your facial expressions. Think about ways to make your personal style shine through your script, your voice and videos.
If you're using avatars or animated character, think about how to make the characters appeal to your audience and help you build an emotional connection with them.
5. Voiceover and presentation
What it is:No need to record your own video with the camera. Slideshows can be created using video. Create a slide-based presentation and add a voiceover and voilà! It's that easy!
What you can do:Talk over your Google Slides or PowerPoint. To make it more dynamic and like a video, use Prezi using zooming-in and additional fun options. When you've got the slides prepared, can simply describe what's in the slides. Be sure to keep in mind that sound quality is essential for your voiceover.
The best choice forA speech that includes a voiceover can be an effective method of digesting information for those who study by reading. It is a way to present important facts using bullets, illustrations, photos, graphs, or your own sketches. In particular, when the information needs to be looked at repeatedly or to be remembered.
What objectives for the lesson can you best deliver when you create a talking head video? Select the lesson and take notes in the lesson description.
6. Screen recordings
What is it:Screen recording shows what you are doing in your laptop's screen.
Methods to use it:For screen recordings, you could use Quicktime (on Mac) or hit Windows Key + Alt + R. After you're done with the recording, you can speed up the boring parts and include your own audio narration, or even a track of music. Also, you can top it out including an audio talking head video in order to enhance the quality of your.
Ideal for:Such images are fantastic to use, as an example, in that portion of your class in which you discuss the applications you employ.
Which lesson objectives could be most effective by creating screen-recording videos? Pick the appropriate lessons, and then make notes on the description of the lesson.
7. Whiteboard videos
What does it mean:You can convey your learning objectives with whiteboards. They're fairly easy to create. As simple as drawing with a black marker with a white backdrop.
How to do it:There are several ways to go about it. You can make a video of you on whiteboards or an animated clip of whiteboard photos (so it's not necessary to reveal your face). It is possible to use an electronic drawing pad (like an iPad) or whiteboard animation software like Doodly.
The best to use forThese video clips are perfect for dynamic parts of your content. You can mark an item, making a circle, etc.
What objectives for your lesson could you deliver best in creating whiteboard video tutorials? Select the lesson and take notes on the description of the lesson.
8. AI-related videos with voiceovers
What is it:AI videos are another way of making videos, without showing your face. They are professional videos with avatars and voiceovers.
Utilizing AI videos and voiceovers can make for a fast method of making your own online class. Also, it can be your distinguished teaching style but keep your eyes on the difficulty to build a personal connection with AI-generated videos.
How do you get it: AI videos and voiceovers are made by converting plain text into audio with the help of software such as Synthesia.
The best option forIt's an alternative to photos of your face if like filming yourself.
PRO Tip: If you don't prefer an AI avatar on your online class, you could create a voiceover only to accompany your screen recordings, or slide presentation. This is a great option in case you are creating an online course that is with a language other than English but aren't confident regarding your pronunciation.
Do you believe that AI voiceovers or videos would benefit your instructional delivery? What particular lesson goals could you be achieved this way? Pick the lesson you want to teach and then make notes within the lesson's description.
If you decide to use video types to deliver your learning outcomes for each lesson, it's time to "Lights cameras, lights, and action!". You can read about recording videos in this article:
3. Record videos for your online course
1. Make sure you have a recording studio
Making sure you have a recording studio is vital to ensure that your learners have a good education experience while taking the online course. Your students must be able see as well as hear the instructor.
Depending on the video type that you've decided to use to convey the outcomes of your education There are a variety of setups:
- For videos of you teaching directly or showing you at work, you'll record yourself.
- If you're a talker, you'll make use of editing software once you've finished recording in order to make a combination of screencasts and footage of you speaking.
- For presentation videos and screen recordings videos You'll be recording your computer screen and make the voice-over to audio.
- For whiteboards, you'll take a recording of yourself standing on the whiteboard, or capture your computer screen and make an audio narration.
A course recording doesn't need to require a professional studio. It can be recorded in your living room.
PRO Tips:For the video recording, keep in mind the same basic rules that the camera should be steady on a tripod, there is enough lighting, you frame the shoot properly, and the captured area appears clean. When recording audio, be sure that there's no echo or background noise. You can reduce them with blankets or soundproof acoustic panels.
2. Pick the appropriate tools for creating videos.
Begin by listing the equipment or application you wish to make each video. Depending on the type of film, it could be physical gear including a camera and tripods, microphones, or software for screen recording and post-production editing. Being equipped with the most recent and best equipment is great, but it's not essential.
Camera: start by using the camera on your laptop or phone's camera.
Microphones:built-in cameras and microphones in your laptop or mobile phones have poor quality sound. Make sure you have a hands-free mic or table-top microphone.
Lighting:use natural light or those lamps you already have in your home. If you're not satisfied with the result, try a ring light or buy a 3-point lighting kit.
Screen recordingQuicktime Player works running on a Mac and is also available as a free app for Windows Obsproject.
Editing: to edit video Try Adobe Premiere Rush or Premiere Pro.
3. Start recording video lessons
You've been anticipating this momentous occasion for quite a while. Now, it's finally time to hit the "start" button of your camera.
Make a sample video to check whether your sound and video.
It is not necessary to record your video lessons chronologically. You can begin by selecting from the lists of lessons the instruction that appeals to you or appears to be the easiest to do. This could be introduction to yourself, or jump into your favorite topics of the instructional lessons immediately.
You can leave the recording of the lesson introduction and concluding at the end of recording time, in the event that there is something unexpected that you want to include in the lesson's content.
PRO Tip: You can capture the recording process behind the scenes. It's an excellent way to advertise your course online.
The instructional videos you pick to teach your students make for an exciting online course and provide your students with an excellent education experience. To make these videos it is possible to use your tools and space at home , using the tools that you have already.
Once you've completed your video, you'll have multiple short, 16:9, videos that are high-quality to upload. Remember about the high quality of the video. Resolution should be at least 1080p.
4. Make a learning experience with a focus on videos
A video-based course offers completely different than reading, for example, text on slides. It needs certain features including navigation, layout and navigation that are specific to video platforms. CreativeMindClass is an online course platform specifically designed for video-based courses and focused on providing a pleasurable learning experience using video.
When a video uploads to an online platform, it's good practice to add an individual thumbnail. It's great looking in the preview. However, it adds some more task. The idea was to create something that looks cool without you needing to perform the additional effort. We choose the top highlights after you upload your video and show a looped 3-8 seconds video. It's something you might know from Spotify videos that are shown when a song plays.
What is it? within CreativeMindClass
- For LESSON Select VIDEOlesson type.
- Upload a video to your computer.
- Click here to View and play the auto produced lesson cover video.
5. Include a file that can be downloaded
The ability to download files is a fantastic addition to your lesson. They're not only a great means of providing your primary learning objectives. They also provide a fantastic way to engage your students to engage them in learning. The best part is that they might be seen by your students as cute tiny gifts that will increase your course value.
If you add an additional file to your lessons the students are able to download it, print it out or fill it out, or even edit it.
This file download doesn't need the need to be printed. It can be filled in digitally, like using an iPad or even your students may work on the file and work on it from their desktops. When they've completed their assignment, they can return the document and receive your feedback.
Downloadable files make your content exciting and enjoyable, and leave your mark on the pulpits of students and desks. You can read more about downloadable files by clicking here:
6. Choose the downloadable files for your lessons
1. Printouts
What it is: They are images or PDFs. Are you trying to get your students to remember certain things or take specific instructions? You can deliver it using a PDF that is downloadable. You can add a printout for any lesson that includes everything you could imagine: whiteboards slideshows, notes, infographics as well as other informational materials. It is possible to create new content or reuse the content of your lesson.
Methods to use it: You can create printed documents using text editors or Canva. The students are able to take notes, or... you can give notes to them. Select four or five key areas that you'll teach in a particular course.
Best for: This is a great method to deliver an example of this, like lesson key points and a kick starter set. They work great for planners or checklists. They can also be used for briefs or mood boards.
PRO TIP: If you use presentation slides in your lessons A great trick is to give them to students in order that they may take notes about them.
Do you believe that providing printed copies are beneficial for your content delivery? What particular lesson goals could you deliver this way? Select the lesson and take notes on the description of the lesson.
2. Documents to fill in
What is it: They are PDFs or Pages/Word document. Worksheets are the documents your students can fill in. They can be plain text documents or beautiful sheets made in your brand design.
How to do it:Create it in Pages/Word or utilize colorful templates downloaded from Canva. You can receive the filled-in worksheets back from the students. For that to happen you must combine it with an exercise which allows students to bring their work for a class and receive your feedback. We'll discuss it in detail below.
The best choice for If you have on your online courses an exercise for brainstorming, you might want your students to record their ideas down. They can use to the exercise a mind map, tableau, or a narrative board to fill in. They can also be useful for writing down the answers to other questions, work assignments, projects, and homework.
Do you think giving a worksheet would be beneficial to your content delivery? What particular lesson goals can you accomplish this in this manner? Pick the lessons you want to teach and then make notes in the lesson description.
3. Files that can be edited natively
The definition of HTML0 is They are native files which applications (like Photoshop) create, which students can modify. They are also known as .PSDs, .RAW, .TIFFs, .AIs, .docs, etc.
How to do it:Create a document and export it to the native format. Upload the file to your lesson. You can combine it with exercises. So, the student is able to give the file back to you to get feedback. We'll discuss it in detail further down.
Best option for These are the best to use for the software components of your online course. Your students to work on native files on their desktops.
Do you think providing editing native files could help your delivery? Which lesson goals could you deliver this way? Select the lesson and take notes within the lesson's description.
Pro Tip:Make you sure that the students are able to access the program you're using otherwise they won't be able to work on the file.
4. A second video
What does it mean: You can upload the video that goes with your course, and your students can download the file. This is a great way to present complete information. Also, you can provide additional learning resources for students willing to take on additional tasks.
What to do:You can record an additional video while or after recording the main material for your online class.
is ideal to use forYou may use it to make instructional videos that require to be watched multiple times.
Do you think having an additional video might be beneficial to your content delivery? What specific objectives for your lesson could you deliver this way? Choose the lessons and make notes on the description of the lesson.
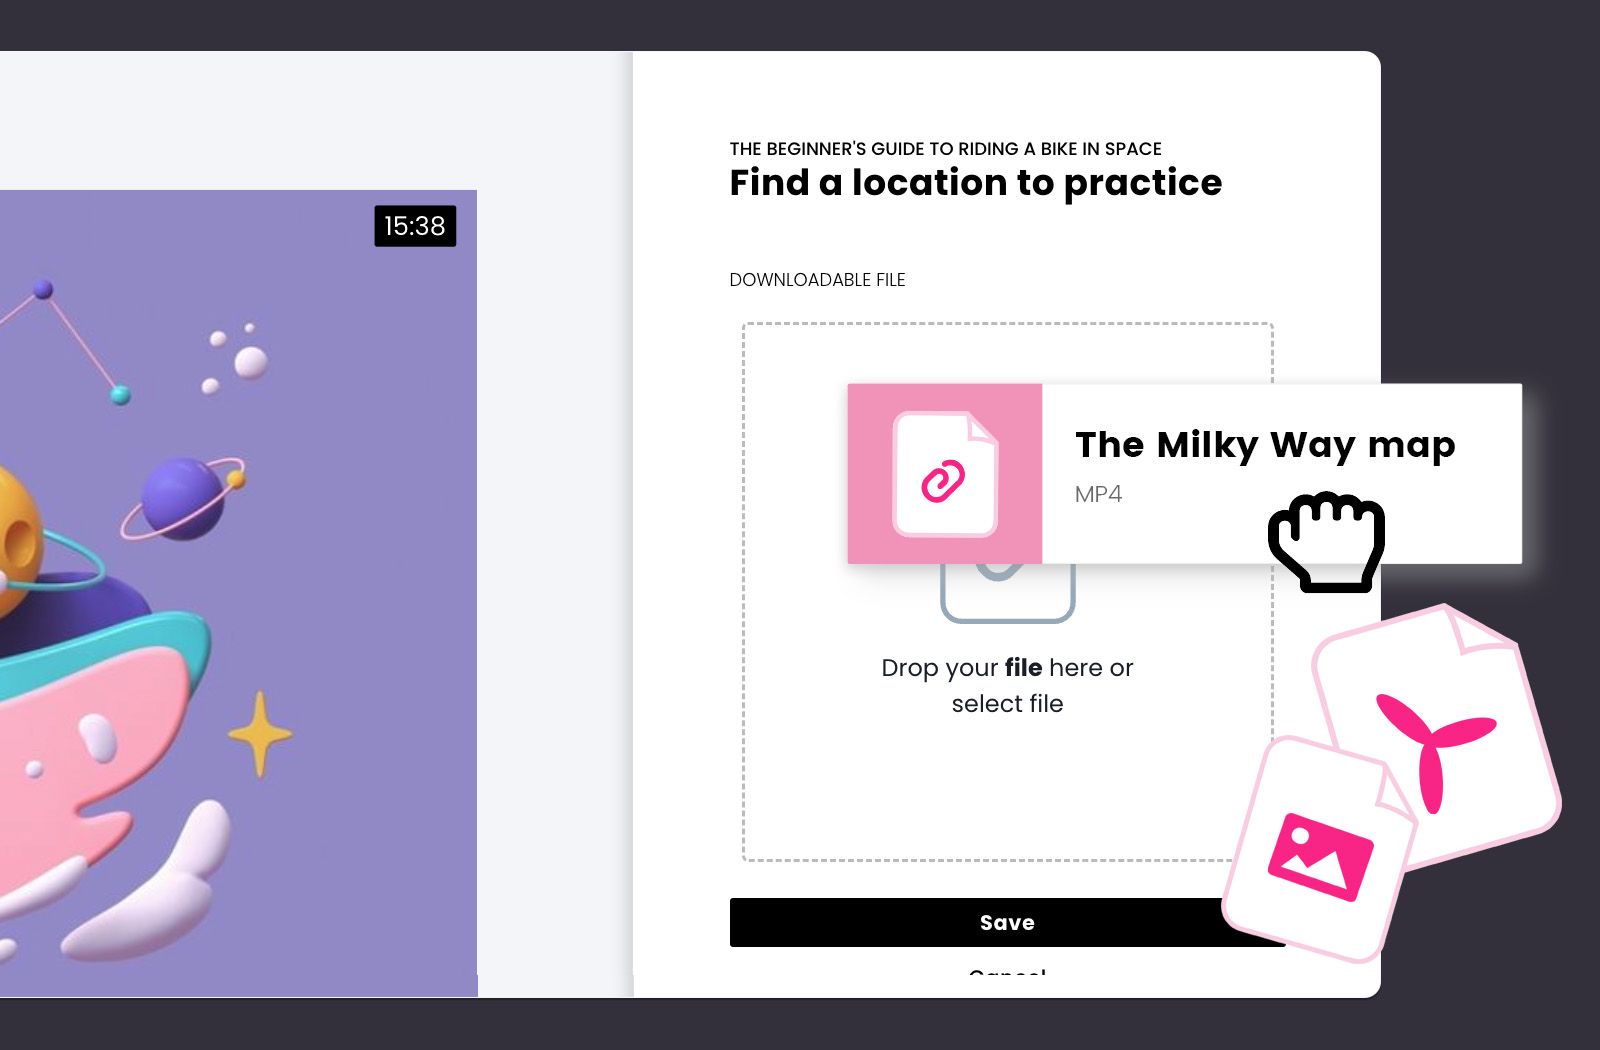
5. Include software links within downloadable files
What does it mean: You can add a link inside your downloadable document so that only students have access to it.
Methods to use it: Paste any link in a text file and upload it to a class.
Best for:It's great way to provide your students with extra learning resources. Or when you want students to be able to visit a site where they can create, for example, a mood board or a mental map (like Milanote). It's possible to generate a link to an online tool that doesn't generate an editable document.
PRO TIP:If the software you use generates editable native files (like Photoshop), it's best to provide it in a format that can be downloaded.
Do you think giving a link would be beneficial to your content delivery? What lesson goals would you be able to accomplish in this manner? Pick the lesson you want to teach and then make notes in the lesson description.
The downloadable materials you add to your lessons help to deliver your learning outcomes effectively. These files are developed using software such as Pages/Word, Google Slides, Prezi, Photoshop or Canva. A few of these programs are available for free, and could be included with your laptop, while others will require to buy.
It is possible to reuse certain instructional materials you have made from your videos (presentation slides, organizers) to download them as files. Export them as PDF files.
You can also make use of downloadable worksheets such as worksheets or native files in conjunction with activities. Students can add their own files to a class and receive feedback.
After you've completed creating your downloadable files then you'll have quality image files or editable native files to upload.
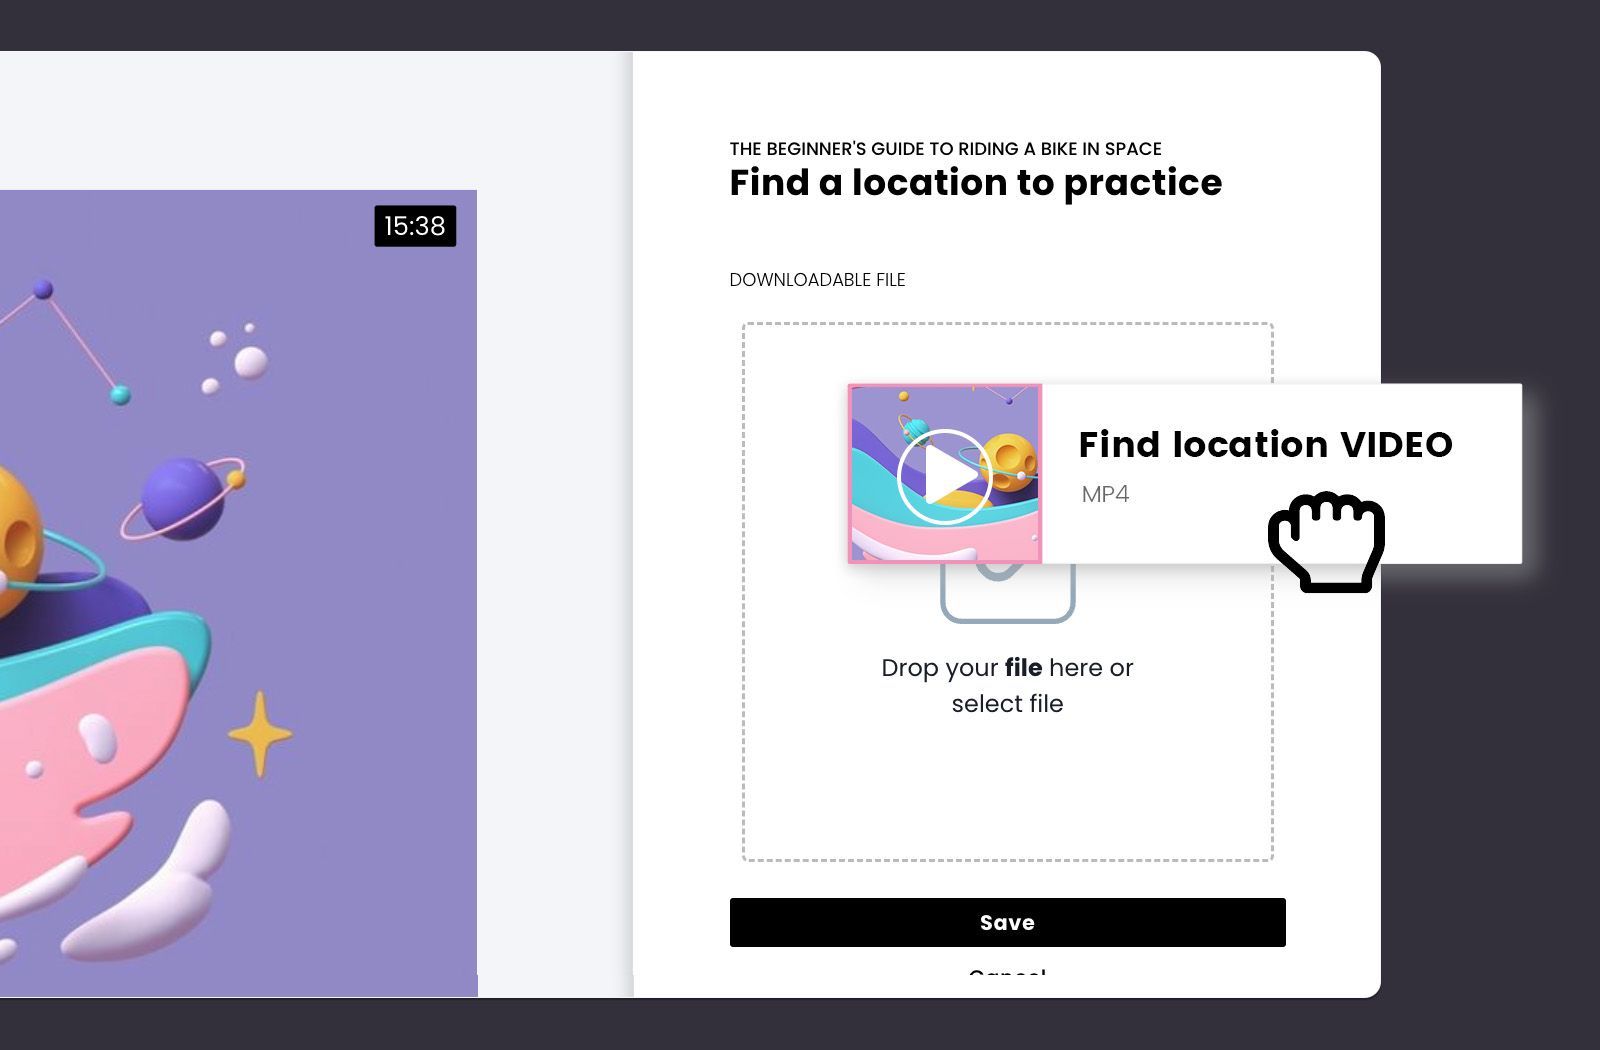
How do I get it within CreativeMindClass
- Go to LESSON - Content tab
- Make sure to click DOWNLOADABLE FILE to upload your file.
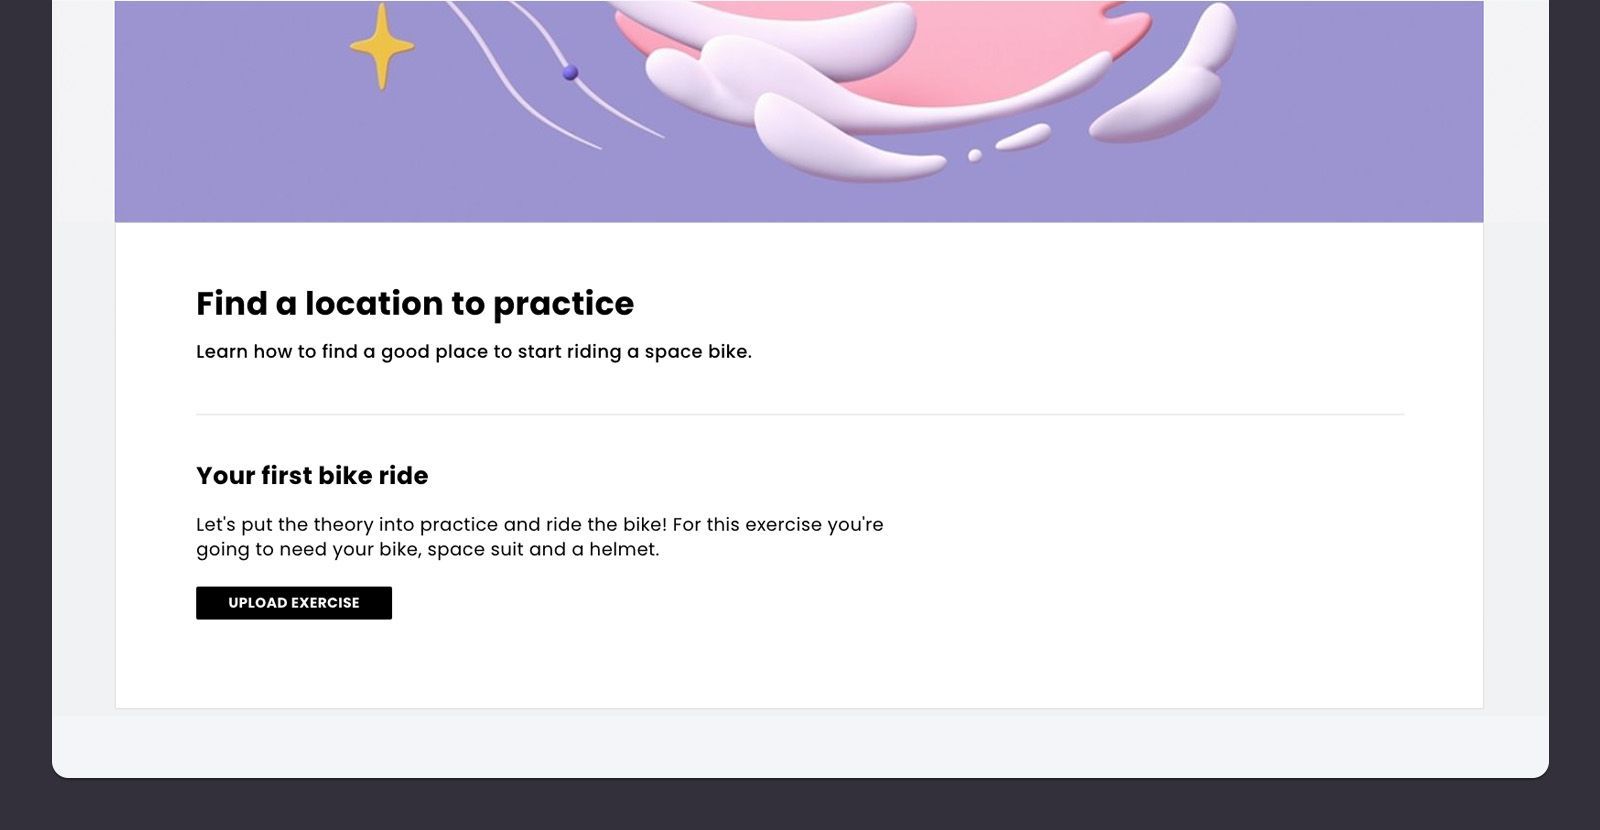
7. Include an exercise in an existing lesson
The exercises are an excellent method for students to put theory into practice. They help them learn by doing. Active learning is typically comprised of an actionable task and feedback from the instructor.
Consider a learning opportunity you could design to help reach their goals. Look at your Lessons list. Which lessons could have interesting and engaging activities for learning? Are there lessons that could include homework tasks? Which brainstorming exercises can be included? What is the final assignment in your class?
What is it? within CreativeMindClass
- Navigate to LESSON - Content tab
- Click on EXERCISE to create an exercise for your class.
8. Students should be asked to present their ideas and ask for opinions
Certain online courses require a class project. Your students will be able to apply the skills they learn during your course to complete the assignment. You can ask them to upload their project for the feedback they need.
PRO TIP: The students' outcomes from your online course can be uploaded as exercise. The results will be uploaded on the Activity Feed together with your feedback. It creates wonderful testimonials as well as social proof for your website.
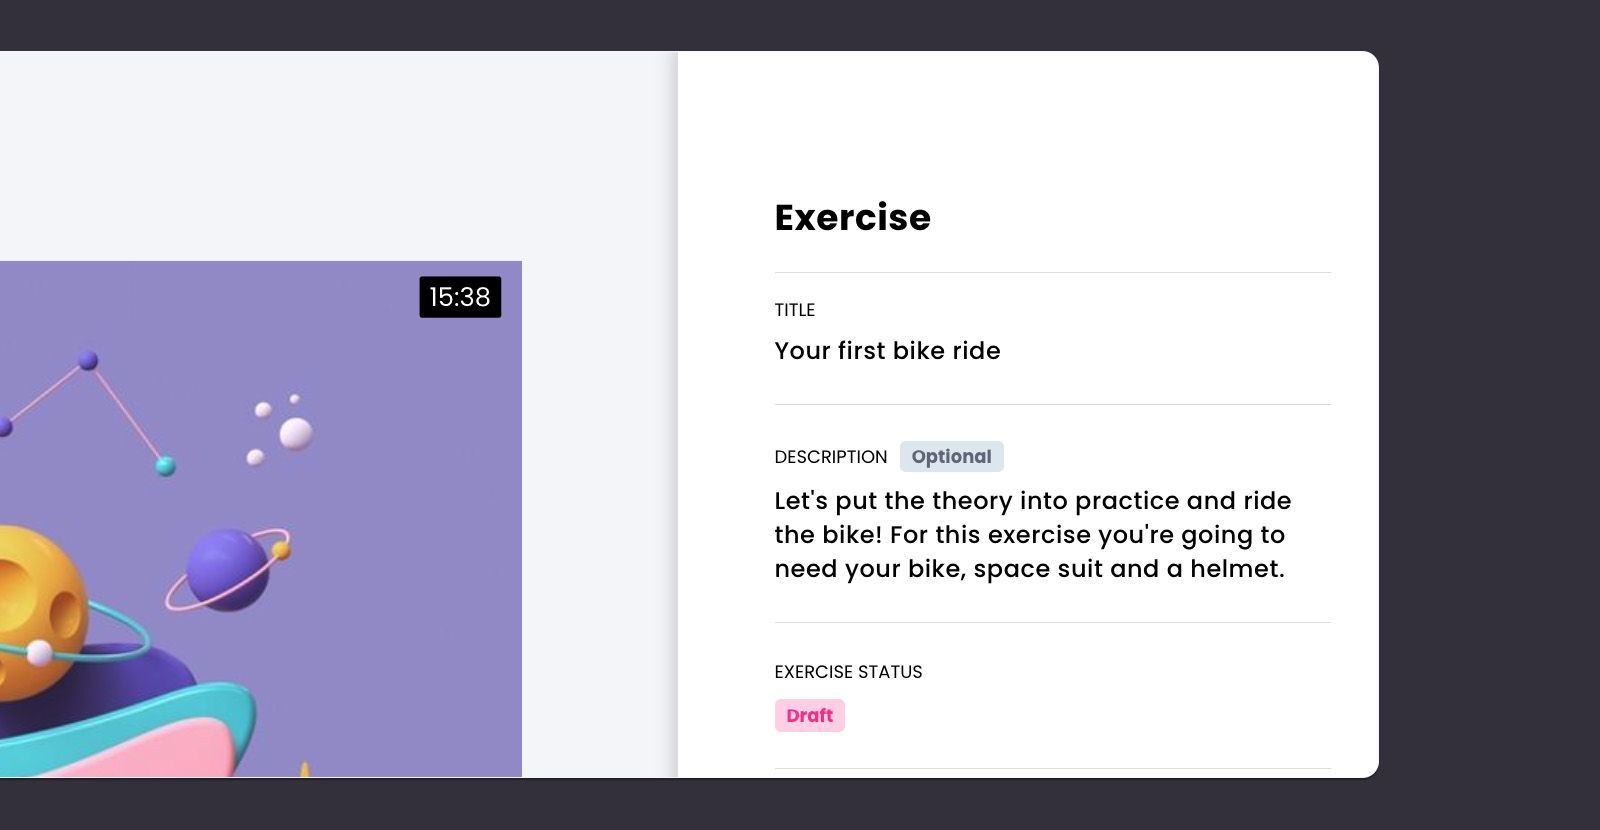
How to do it within CreativeMindClass
- Navigate to the tab for Content of the lesson
- Click on EXERCISE to generate an exercise.
- Write TITLE.
- Type Description.
- Once your student has uploaded their exercise, navigate to students' workto the exercise inyou give your feedback.
9. Build an online community around your course
The sharing of your thoughts with students is the initial step in building a community around your online course. Your students can elevate their learning experience to the next step, expanding your business while increasing your visibility simultaneously.
The online community boosts the traffic to your website, helps you retain clients, as well as increase the amount of money you earn. Activity Feed is a place in which you can interact to your followers via blog messages.
Include some inspirational posts in your online course experience. You'll get yourself a great basis for creating an engaged community around your business and brand.
How can you keep students engaged? What kind of content do you typically share on social networks? What tricks and practical tips can you offer? An excellent way to keep your students engaged and motivated to finish the course are daily posts featuring inspirations for their end of the course project.
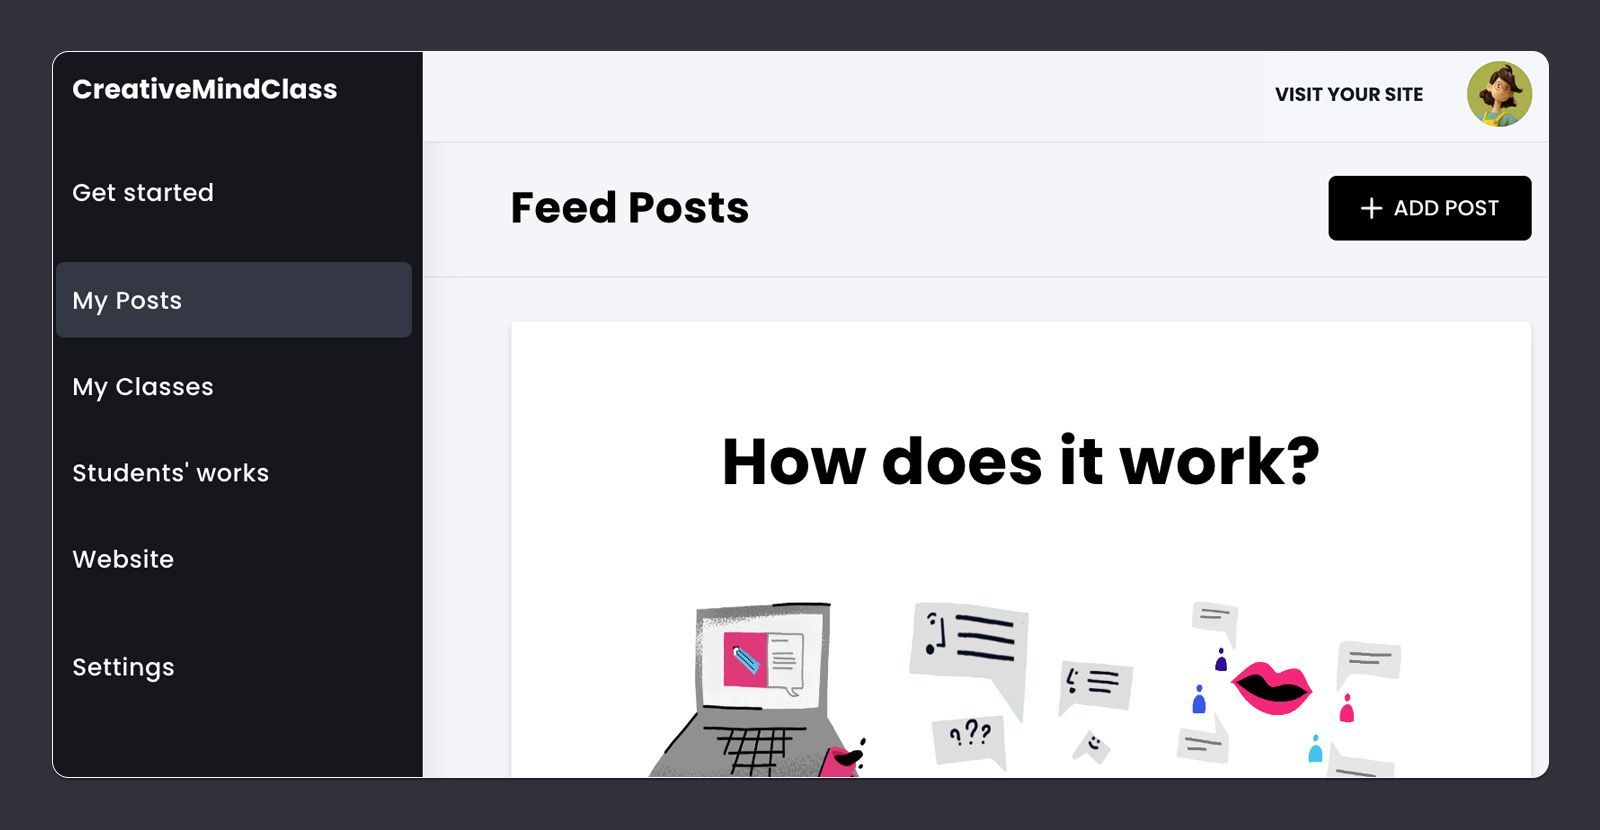
How do I get it within CreativeMindClass
- Click My Postsin the main menu, to launch it.
- Click Add Post button to make an entirely new blog post.
And you're done!
Now that your video lessons is complete, you've created an impressive content to use for your online course. You're probably adding bonus content to your videos to increase your course value. If you're launching a new online course right now, use the free template provided below to design and film a fresh video class, or you can go through our complete instruction for how to design an online course.
Create your online course videos. Today.
Get started for FREE with CreativeMindClass's easy-to-use template.

Sign up for free with no limit on time
SHARE The link has been copied!
This post was posted on here